Github 에 코드 Push만 해도 Jenkins 를 통해 자동 빌드 처리 하는 방법은 Webhook 과 Polling 방식이 있다.
본문에서는 Webhook 을 설명한다.
- Webhook 이란?
- Webhook(웹훅)이란, 특정 이벤트가 발생하였을 때 타 서비스나 응용 프로그램으로 알림을 보내는 기능입니다.
목차
선행 사항
● Jenkins 설치
● Jenkins > Github plugin 설치
● Jenkins > Github credential 등록
1. ngrok
Jenkins 가 http://localhost:18080 으로 떠있는 상황
만약 Jenkins 가 로컬이 아니라 외부접속이 가능한 환경에 설치돼있다면 Skip 해도 되는 절차이다.
ngrok - 로컬 컴퓨터의 개발 환경을 인터넷으로 공유해주는 툴
web hook 을 수신해야 할 경우 domain 을 부여하고 외부에 공개해야 하는데 개발용 로컬 호스트를 tunneling을 통해(Secure tunnels to localhost) 외부에서 연결할 수 있도록 해주는 ngrok를 사용하면 쉽고 빠르게 로컬 개발 환경을 외부에 공개할 수 있습니다.
- ngrok 가입
- 무료 ngrok 계정은 기본 Session 유지 시간이 8시간 입니다.
- 8시간이 지난 후엔 다시 ngrok을 실행해야 하며 이때 URL이 변경되는 문제가 있습니다. (8 시간이면 테스트하기엔 충분함)
# 1. wsl 에 설치할 파일을 다운
ngrok-v3-stable-linux-amd64.tgz

# 2. 로컬 에서 파일 압축 해제 (WSL)
tar -xvf ngrok-v3-stable-linux-amd64.tgz

# 3. ngrok 명령어를 전역에서 사용하기 위해 /usr/local/bin 으로 이동
sudo mv ngrok /usr/local/bin

## ngrok 홈페이지에 나와있는 auth token 을 복사 (계정마다 발급됨)
# 4. Connect your account
ngrok config add-authtoken <YOUR-AUTH-TOKEN>

# 5. To start a HTTP tunnel forwarding to your local port 80, run this next:
# Jenkins 가 18080 port 로 떠있기 때문에 18080 port 로  포트 포워딩..
ngrok http 18080
Forwarding https://5c9f-220-117-192-97.jp.ngrok.io → http://localhost:18080
https://5c9f-220-117-192-97.jp.ngrok.io 을 웹 브라우저에 입력하면 젠킨스 화면이 뜨는 것을 확인할 수 있다.
포트포워딩이 되어 아래와 같은 터미널이 뜨게된다.
ngrok                                                                                                                                                                                         (Ctrl+C to quit)

Join us in the ngrok community @ https://ngrok.com/slack

Session Status                online
Account                       test@test.com (Plan: Free)
Version                       3.1.0
Region                        Japan (jp)
Latency                       35ms
Web Interface                 http://127.0.0.1:4040
Forwarding                    https://5c9f-220-117-192-97.jp.ngrok.io -> http://localhost:18080

Connections                   ttl     opn     rt1     rt5     p50     p90
                              125     0       0.06    0.13    0.09    12.99

HTTP Requests
-------------

POST /job/demo-api/descriptorByName/org.jenkinsci.plugins.workflow.cps.CpsFlowDefinition/checkScriptCompile                              200 OK
POST /job/demo-api/descriptorByName/org.jenkinsci.plugins.workflow.cps.CpsFlowDefinition/checkScript                                     200 OK
POST /job/demo-api/descriptorByName/org.jenkinsci.plugins.workflow.cps.CpsFlowDefinition/checkScript                                     200 OK
POST /job/demo-api/descriptorByName/hudson.triggers.SCMTrigger/checkScmpoll_spec                                                         200 OK
GET  /static/3570747f/plugin/ace-editor/packs/ace-editor-122/theme-tomorrow.js                                                           200 OK
POST /job/demo-api/descriptorByName/hudson.triggers.TimerTrigger/checkSpec                                                               200 OK
GET  /static/3570747f/plugin/workflow-cps/snippets/workflow.js                                                                           200 OK
POST /job/demo-api/descriptorByName/jenkins.branch.RateLimitBranchProperty$JobPropertyImpl/checkCount                                    200 OK
GET  /static/3570747f/plugin/ace-editor/packs/ace-editor-122/mode-groovy.js                                                              200 OK
POST /job/demo-api/descriptorByName/org.jenkinsci.plugins.pipeline.modeldefinition.properties.PreserveStashesJobProperty/checkBuildCount 200 OK
2. GitHub Webhook 등록

프로젝트 settings tab → webhooks & services
- Payload URL : https://5c9f-220-117-192-97.jp.ngrok.io/github-webhook/ 입력
- Payload URL 형식 : 젠킨스 서버 URL/github-webhook/
- http://:8080/github-webhook/
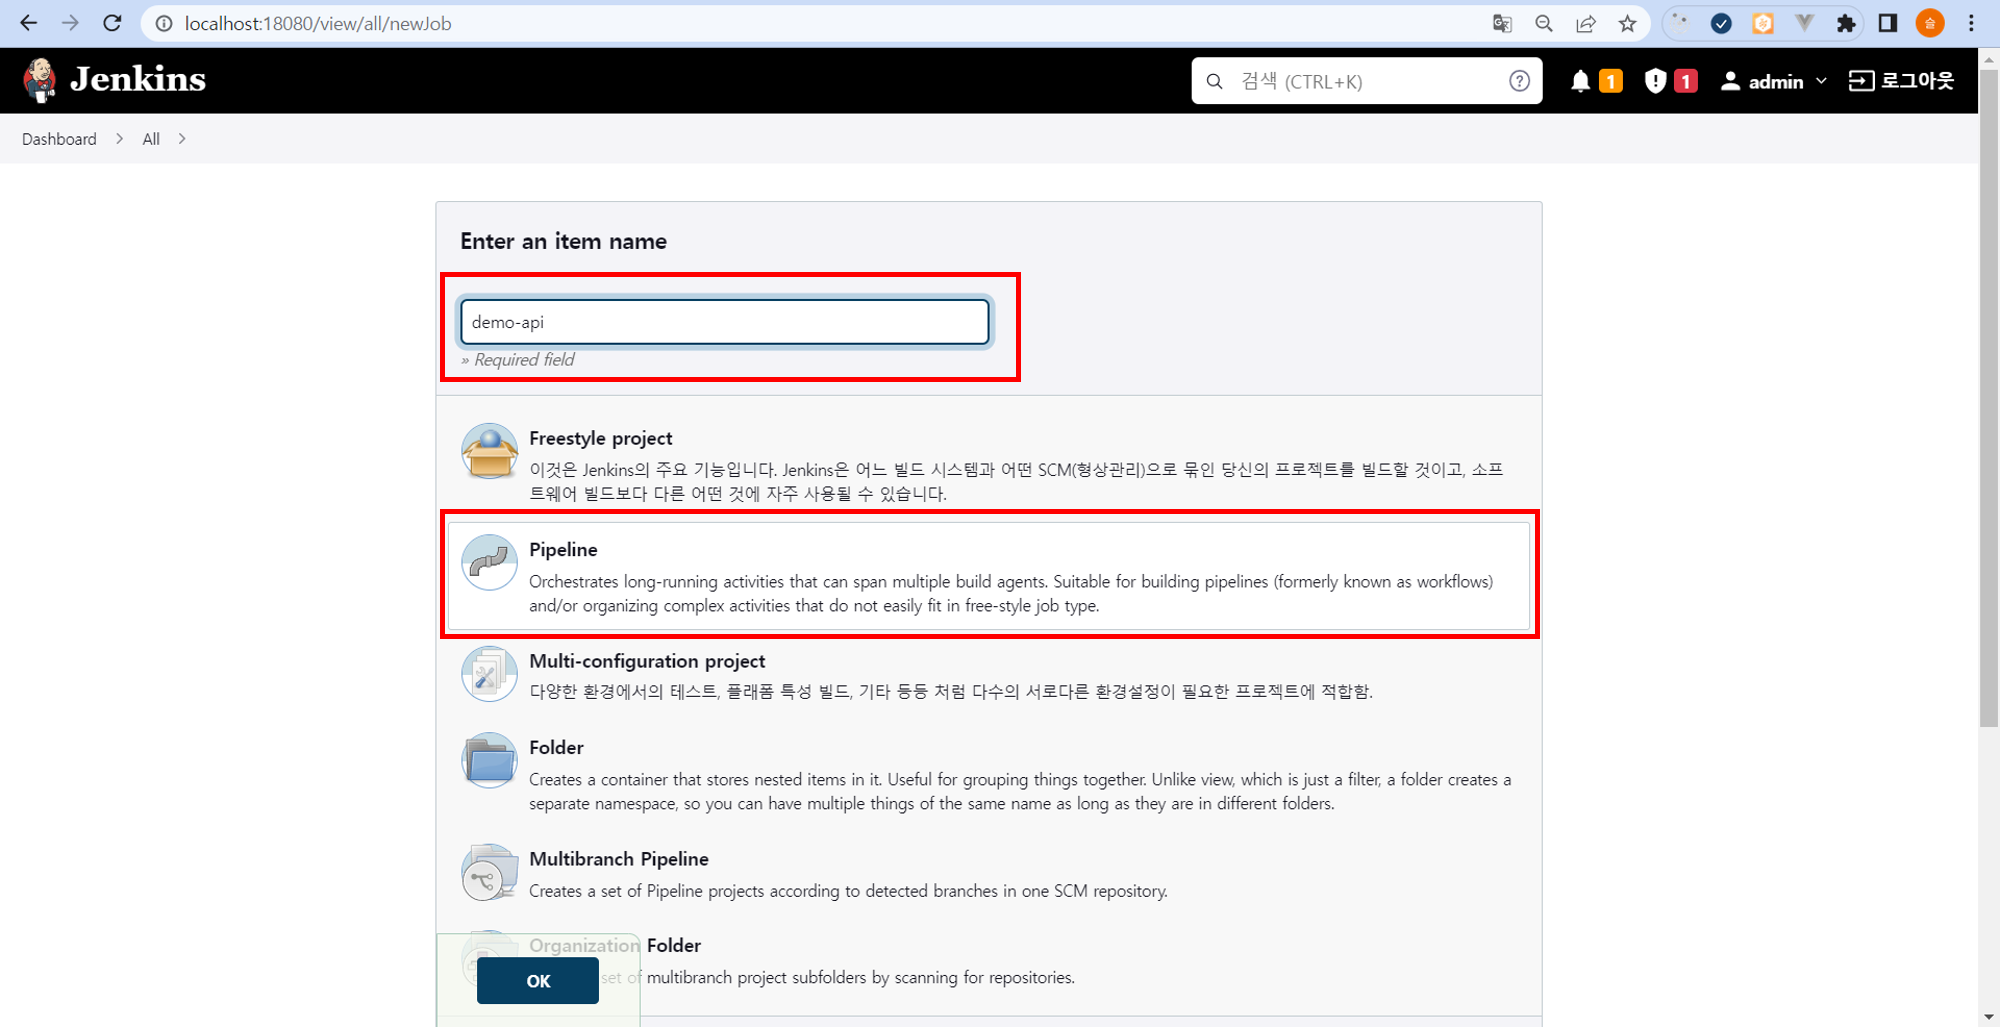
3. Item 생성 - Pipeline
4. Pipeline 구성
4.1. Build Triggers

GitHub hook trigger for GITScm polling 체크
4.2. Pipeline


- Pipeline script
- Pipeline script 선택시 Jenkinsfile 을 직접 작성하면됨 (작성하는 공간이 나옴)
- Pipeline script from SCM
- Jenkinsfile 이 위치한 Git Repository 정보를 입력하면 됨
Pipeline script 와 Pipeline script from SCM 중 선택하여 정보를 입력한다.
4.3. Jenkinsfile
pipeline {

agent any
    environment {
        SOURCECODE_JENKINS_CREDENTIAL_ID = 'jei0486'
        SOURCE_CODE_URL = 'https://github.com/jei0486/demo-api'
        RELEASE_BRANCH = 'main'
        REGISTRY = 'jei0486/demo-api'
    }

    stages {
        stage('init') {
            steps {
                echo 'init'
                echo "Current workspace : ${workspace}"
            }
        }

        stage('clone') {
            steps {
                echo 'clone'
                git url: "$SOURCE_CODE_URL",
                branch: "$RELEASE_BRANCH",
                credentialsId: "$SOURCECODE_JENKINS_CREDENTIAL_ID"
                sh "ls -al"
            }
        }

        stage('build') {
            steps {
                sh 'pwd'
                sh '''
                chmod +x gradlew
                ./gradlew clean bootJar
                '''
            }
        }

        stage('dockerizing'){
            steps{
                sh '''
                pwd
                docker image build -f Dockerfile -t $REGISTRY:${TAG} .
                '''
            }
        }

        stage('Deploy docker image') {
            steps {
                withDockerRegistry([ credentialsId: 'dockerhub', url: '' ]) {
					sh 'docker push $REGISTRY:${TAG}'
                }
            }
        }
    }

    post {
        always {
            cleanWs()
        }
    }
}
4.4. Dockerfile
FROM openjdk:11.0.11-jre-slim
EXPOSE 9099

RUN mkdir /app

COPY ./build/libs/*-SNAPSHOT.jar ./app/application.jar

ENTRYPOINT ["java","-jar","/app/application.jar"]'DevOps, Infra' 카테고리의 다른 글
| [ArgoCD] 무중단 배포 전략 (0) | 2022.12.29 |
|---|---|
| [ArgoCD] ArgoCD Install (0) | 2022.12.28 |
| [Jenkins] Jenkinsfile (0) | 2022.12.28 |
| [Jenkins] 빌드 자동화 - polling (0) | 2022.12.27 |
| [Jenkins] 플러그인 설치 및 준비 (0) | 2022.12.27 |